Counter App

Barcode and QR Labels for Stockroom Counts
Key takeaways
Barcode and QR labels make stockroom counts more reliable because a code identifies a bin or product regardless of look-alike packaging. In Counter App — Tally & Clicker, each tag stores a scanned or typed code, counts are tapped by step, problem labels are photographed and marked up, and the results export to CSV or Excel for reconciliation.
- In a stockroom count with Counter App — Tally & Clicker, each tag can store a barcode or QR code that is scanned with the camera or typed by hand.
- A stockroom label scheme should pick one rule per area: product codes for items with a fixed home, or self-printed location codes for bins and shelves.
- Labels that refuse to scan can be entered on the manual entry screen, so one creased or glossy label does not stall the stockroom count.
- Putting the SKU or location ID in every tag name lets a spreadsheet lookup match counted and expected stockroom quantities after export.
A stockroom count usually goes wrong in one of two places. Either the counter is standing in front of the wrong bin, or they are holding the right number against the wrong item name. Barcodes and QR labels attack both problems, because a code does not care that two shampoo variants have nearly identical packaging or that someone abbreviated "assorted" three different ways on the shelf labels.
This guide walks through a label strategy for a small or mid-sized stockroom, how to wire codes into Counter App tags, what to do with the products and bins that have no usable label, and the habits that keep a scanned count clean from the first shelf to the final export.
Should a barcode identify the product or the bin?
Before printing anything, settle one question: does a code point at a product or at a place? Both approaches work, but mixing them on the same shelf causes confusion.
Product codes already exist on most commercial goods. Using them means a tag represents a SKU wherever it sits. That suits stockrooms where each item has one home and rarely moves.
Location codes are labels you print yourself for bins, shelves or slots. A tag then represents "Aisle B, shelf 3, bin 07", whatever is in it. That suits overflow areas, mixed bins and stockrooms where products get moved around between seasons.
A common compromise is location codes on the shelving and product codes on the goods, with the tag name carrying both: "B3-07 · SKU 40-118". The code stored in the tag is whichever one the counter will actually scan first. Pick one rule per area and write it on the area's first shelf so a new helper does not have to guess.
Setting up counters and tags
In Counter App, a counter is the container and tags are the things you count inside it. For a stockroom, a practical split is one counter per area or per count session, and one tag per bin or per SKU.
Open a tag's edit dialog and you will find the fields that matter here:
- Label – the human-readable name, matching your shelf label exactly.
- Color – one color per product family or per shelf level makes the counting screen readable at a glance.
- Step – any value from 1 to 100. If an item always comes in inner packs of 12 and you count packs, a step of 12 records units directly.
- Target – the expected quantity from your system, if you want the app to show progress toward it.
- Barcode – scan the label with the camera or type it.
- Location – GPS, a point on a map, or typed text such as "Back store, Aisle B".
- Notes – anything the next counter should know.
Do the setup at a desk with a printed list rather than on the floor. Scan each code once into its tag during setup and you will catch unreadable labels before count day, which is the cheapest moment to find them.
Making your own QR labels for bins
Self-printed QR codes are the easiest way to give unlabeled bins an identity. A few practical points:
- Encode something short and stable. A location ID like "B3-07" survives reorganizations better than a product description.
- Print the human-readable text under the code. When the camera fails, the counter still knows where they are and can type the code.
- Size for the reach. Codes on top shelves need to be readable from further away than codes at eye level; test a sample before printing a whole sheet.
- Laminate or use durable stock in dusty or damp areas. A peeling label costs more time than the label itself.
- Place labels consistently, for example always bottom-left of the bin front, so nobody hunts for them.
Keep the master list of codes in a spreadsheet. That same sheet becomes the lookup table later when you match counts against system quantities.
What if the camera will not read a label?
Some labels will refuse to scan: creased packaging, glare from shrink wrap, faded thermal print, codes wrapped around a curved bottle. Do not let one stubborn label stall the count.
Counter App has a manual entry screen for exactly this case. Type the digits printed under the code and carry on. If the same label fails twice, note it on the tag so someone reprints it after the count. A short list of "labels to replace" collected during every count gradually cleans up the stockroom.
For products with no code at all, there are three reasonable options: print a location QR for the bin they live in, leave the code field empty and rely on a precise name and color, or attach a reference photo to the tag. Any of these is better than inventing an ad-hoc code that nobody else knows.
The count itself
On count day, open the area's counter and choose the counting view that fits the shelf.
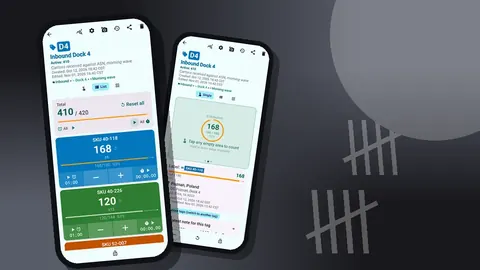
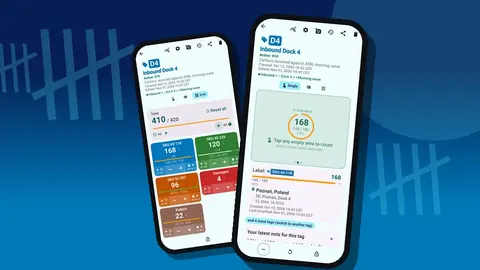
- Single view shows one tag large, with a circular counter and target progress. It suits a deep bin with many units where you want the number big.
- List view shows every tag as a row with − and + buttons and its target progress. It suits a shelf you work through top to bottom.
- Grid view shows colored tiles. It suits a shelf with many small bins where you jump around.
A clean rhythm for each bin: confirm the code or label, count the units, tap + by the step, and move on. If you over-tap, the − button subtracts one step and the correction is logged like any other event.
For long bins of identical items, turning on volume-button counting in settings lets you count with the physical keys while your eyes stay on the shelf. It is off by default, the keys can be remapped, and each key can have its own sound and vibration so you can tell plus from minus without looking. Some devices may still show the system volume bar while you count.
How do you avoid mix-ups in a scanned count?
Codes reduce errors but do not remove them. The usual failure patterns, and what helps:
- Look-alike packaging. Attach a reference photo to each tag in a confusing family. Each tag holds up to 6 photos, and the all-photos gallery shows them by tag name.
- Two people on one shelf. Split the shelf into separate counters, one per person, so their taps never land in the same tag.
- Accidental taps in a pocket. Lock the counter when you walk between areas. Once locked, a counter ignores every tap until you unlock it.
- Recounting a bin twice. Use a target with the expected quantity; when the progress bar is already full, that bin has likely been counted.
- Mixed bins. Give each SKU in the bin its own tag rather than a single "assorted" tag, otherwise the variance is impossible to trace.
Marking up a problem label
When a label is torn, wrong or stuck over an older one, take a photo and mark it up in the app's photo editor. The brush and text tools, six colors and four fonts are enough to circle the damage and write "reprint – wrong SKU". The edited photo stays on the tag, so the person who fixes labels later sees exactly which bin and what was wrong, without a separate message thread.
Scaling the approach
Start with the area that causes the most trouble, not the whole stockroom. Once one area is labeled and counted cleanly twice, extend the scheme.
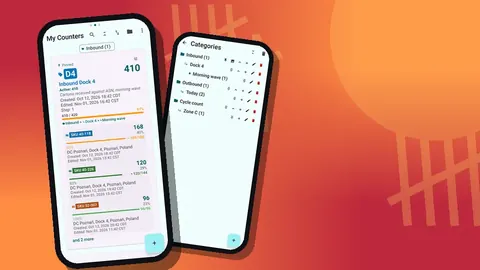
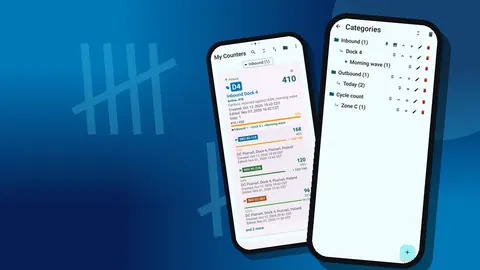
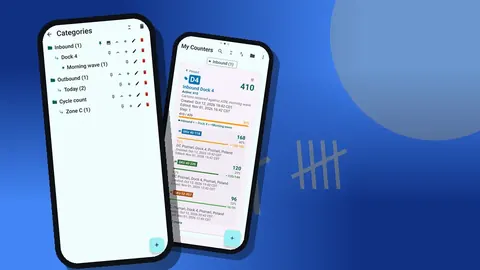
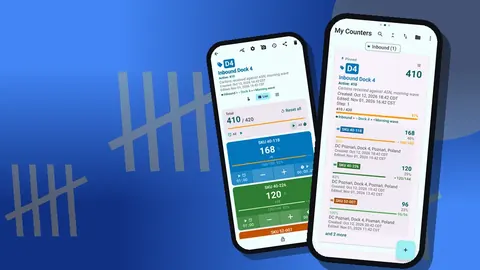
Categories help as the structure grows. Counter App supports up to three levels, so "Back store › Aisle B › Shelf 3" is a natural tree, with custom colors per level and pinning for the area you are counting this week. Six sort orders and search in the counter list make it quick to find a specific area when a manager asks for a spot check.
If a second phone joins the count, remember there is no live sync between phones. Each person counts their own areas, and the results are combined in the spreadsheet afterwards. To give a colleague the same setup before count day, make a backup ZIP of the relevant counters and import it on their phone; the import preview shows what will arrive and lets them replace, copy or skip duplicates.
After the count
Before leaving the floor, scroll through the history for each area. Every tap is listed with an exact timestamp and the value before and after it, plus icons when a photo, note or location is attached. A burst of minus events in one bin is a good reason to recount it while you are still standing there.
Add notes to events that need an explanation ("two cases found in returns cage", "label belongs to old SKU"). Those notes travel with the data and save a round of questions later.
Getting the codes into a spreadsheet
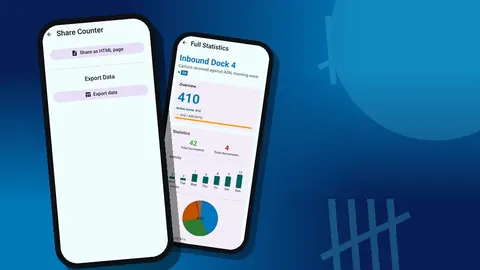
Export from the counter's share screen. In the export options, pick summary, events, notes and locations, then save the file as CSV or Excel. The summary carries each tag's final value; the events section is the raw log if you need to audit a bin.
In the spreadsheet, match on whichever key both sides share. If the tag name includes the SKU or location ID exactly as your system writes it, a lookup puts counted and expected quantities side by side in minutes. That is the real payoff of a consistent label scheme: the reconciliation becomes a formula instead of an afternoon.
Stockroom counts are stored on the phone, with no account and no Counter App cloud. Counter App runs on Android 12 and later and is free to download with no ads; try it free for 3 days, then choose a yearly or monthly plan or a one-time lifetime purchase. For the next step, read how to export a warehouse count to a spreadsheet or how to run regular cycle counts.
Get the app at counterapp.online.
Frequently asked questions
How do I add a barcode to an item in Counter App?
Open the tag's edit dialog and fill the barcode field, either by scanning the label with the camera or by typing the code by hand. Each tag in a counter can hold its own code.
Will the camera read my own stockroom bin labels?
We do not publish a list of specific formats. The practical test is simple: scan one of your own labels during setup, and if the camera does not read it, type the code manually instead.
What if a product has no barcode?
Print your own QR label for the bin or shelf, or leave the code field empty and rely on a clear tag name, color and location. Counting works the same either way.
Can I photograph a damaged label?
Yes. Each tag can hold up to 6 photos, and the built-in photo editor lets you draw on a picture or add text, for example to circle a torn label.
Does barcode scanning in the stockroom need an internet connection?
No. Scanning, typing codes and counting all run offline in the stockroom; the app connects only for optional notifications, update checks and map tiles.
What should a self-printed bin QR code contain?
A short, stable location ID such as B3-07 works best, printed with the same text underneath so a counter can type it when the camera fails.
Can two people scan and count the same stockroom shelf?
Give each person a separate counter for their half of the shelf. There is no live sync between phones, so the two exports are combined in the spreadsheet afterwards.