Counter App

Product Photography Shot Tracking with QR Labels
Key takeaways
Product photography shot tracking works by labelling every product with a code, storing that code on a tag and setting the tag's target to the number of required angles. In Counter App — Tally & Clicker, tags still below target at the end of the day form the reshoot list, and exports give the client proof of coverage.
- E-commerce product shoots fail on volume rather than difficulty: one missing back view among a hundred SKUs is easy to overlook.
- In Counter App — Tally & Clicker, each product tag stores its barcode or QR code, and the tag target equals the number of required angles.
- Auto-lock on target stops a completed product tag in Counter App from receiving accidental extra taps.
- Timestamps in the Counter App history show how long each product took to shoot, which is better quoting data than a rule of thumb.
E-commerce product days are not hard because the individual shots are hard. They are hard because there are so many of them. Sixty or a hundred items, each needing a front, a back, a side, a detail and perhaps a lifestyle frame, and a client who will notice the one SKU with no back view three weeks later, when the product page goes live.
The usual safeguard is a spreadsheet with a row per product and a column per angle. It works, but on set it means switching between camera and laptop, scrolling to find the row, and ticking cells you have not reviewed yet because the next product is already on the table. A label-and-scan workflow on a phone removes most of that friction.
How does label-based shot tracking work?
Every product, or every small group of products, gets a label with a code. The same code is stored on a tag in your counting app. When the product arrives at the table, you scan the label or pick its tile, shoot, and log each completed angle with one tap. At the end of the day, every tag below its target is a product that still needs work. The list of unfinished products writes itself.
Three things make this reliable: the labels are prepared before the shoot day, the target per product matches the brief exactly, and the logging is done by whoever has a free hand at that moment.
Prepare labels before the shoot day
Labelling on the day is where this workflow usually fails. Do it at intake, when products arrive from the client.
- Use the client's codes when you can. If products already carry barcodes or SKU numbers, you may be able to scan them directly. Test a handful with your phone before relying on them. Scanning depends on the label, the surface and the camera, and formats are not something to assume.
- Otherwise print your own QR stickers. Encode the SKU or a short ID that a person can also read. Stick the label on the swing tag, the bag or the box, never on a surface that will be photographed.
- Group very small items. For jewellery, cosmetics samples or accessories, one label per tray or set is more practical than one per piece. The tag then represents the tray, and the target covers every shot in the set.
- Keep a labelled backlog. Shelve products in label order so the stylist can hand them over in sequence.
Typed codes as a fallback
Some labels will not scan: crumpled bags, reflective foil, a sticker partly torn during unpacking. Each tag accepts a typed code just as well as a scanned one, so a stubborn label is a ten-second detour rather than a stop. Typing is also handy at intake if the client sends a product list with SKUs in advance; you can create tags and type their codes before the products even arrive.
One tag per product
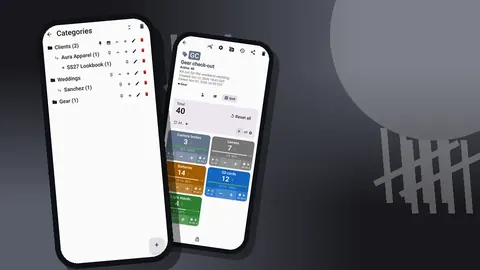
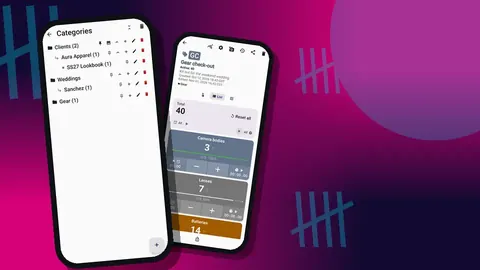
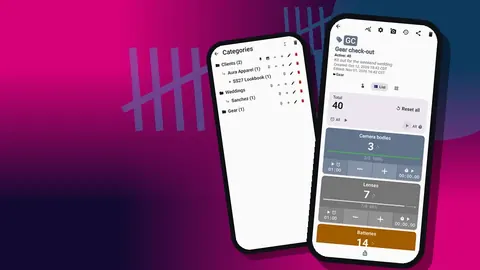
In Counter App, create one counter per shoot day or per product batch, for example "Client X – Spring drop – Day 1". Recurring clients get their own category so their batches stay together, with sub-categories for seasons if the volume justifies it.
Inside the counter, add one tag per product. On each tag:
- Store the product's code in the barcode or QR field, by scanning or typing.
- Name the tag with the SKU and a short description, such as "SKU 4471 – linen shirt, sand". The counter list has search, so a consistent naming pattern pays off when you look for a past batch.
- Pick a color per product family, so the grid groups visually.
- Use the notes field for styling instructions from the client, such as "sleeves rolled" or "no props".
Targets, alerts and auto-lock
Set each tag's target to the number of required angles. A standard "front, back, side, detail" brief means a target of 4; add one if the client wants a packaging shot. If a product family needs a different set, its tags get a different target. That is the reason to set targets per tag rather than relying on memory.
Turn on a sound or vibration alert for reaching the target. On a busy set, hearing that a product is complete is better than checking. Auto-lock on target goes one step further: once the last angle is logged, the tag locks and the next accidental tap cannot land on a finished product. If a product needs reshooting, unlock it or reset just that tag and add a note explaining why.
Grid or single view
On the counting screen, choose the view that matches your pace.
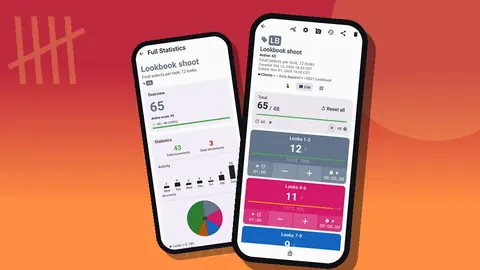
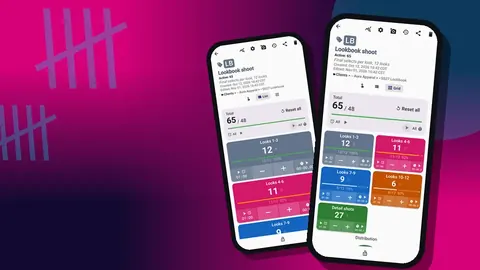
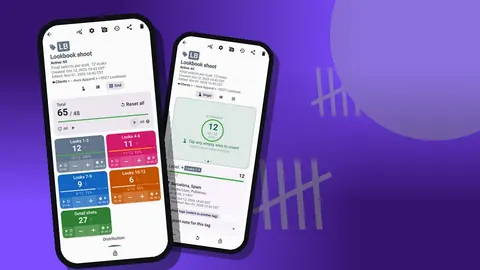
Grid shows a colored tile per product with its value, target percentage and buttons. With a batch of thirty, untouched products jump out, and the tiles for finished products show their completion at a glance.
Single fills the screen with one tag's large circular counter, its target progress and its latest note. When you work strictly one product at a time, single view gives you the biggest possible tap target and puts the client's styling note right under your thumb.
List sits between the two. Each product gets a row with buttons and progress, which suits long batches viewed on a small phone.
On set: the rhythm
The rhythm that works for many product sets:
- The product arrives at the table. Find its tag by scanning the label or tapping its tile.
- Shoot the first required angle. When the frame is right, tap once.
- Repeat for each remaining angle.
- On the final tap, the alert fires and the tag locks.
- The product goes to the "done" shelf and the next one comes in.
The tap means "this angle is approved", not "I pressed the shutter". If you want to count raw frames as well, add a second counter for that purpose instead of mixing the units.
Who logs: photographer or assistant
On many product sets the stylist or assistant does the logging, which keeps the photographer's attention on the frame. A lock-screen notification with minus, plus and Stop buttons makes this quick even if the phone locks between products.
When the photographer works alone, volume-key counting helps. It is off by default; enable it in settings, map the keys and give each its own sound or vibration. It works in the background and on the lock screen, so the phone can sit on the tether cart or in an apron pocket. A few phones may still show the system volume bar with each press. Test which tag receives the presses with the view you plan to use before the first product arrives.
Capturing issues as you go
Product days generate a stream of small problems for the retoucher and the client: a scratch on the left side, a loose thread, colour that runs warm under the strobes, packaging dented in transit. Add a note to the count event as you find them. The All Notes screen later gathers every note from the batch in one sortable list, which becomes the retouching brief.
A tag can also store as many as six photos of the setup. Use them for a phone shot of the damage, the packaging or the client's reference image. The photo editor lets you circle the problem area with the brush, add text in one of four fonts and six colors, and rotate the image. A marked-up phone photo next to the SKU is often clearer for a retoucher than a paragraph of explanation.
What should you check at lunch on a product day?
At lunch, open the dashboard. It shows the batch total against target, increments and decrements, an activity chart and a pie chart by tag, together with tag photos and notes.
Two questions matter at this point. First, which products are partial? Those are the ones to finish before starting new ones, because partial products are the ones forgotten at the end of the day. Second, where did the morning go? If one product family ate half the time, plan the afternoon around it or warn the client early that the batch will run over.
How do you prove coverage at the end of the day?
The export turns a personal tool into something useful for the client relationship.
- HTML report with embedded photos. A readable page per batch with products, notes and reference photos. Good for the client, the retoucher and your own records.
- Excel or CSV. One row per event, easy to merge with the client's product list or a delivery tracker.
In the export options, pick only the sections you need: Summary for a quick status of every product, Events for the full timeline, Notes for retouching instructions, Locations if tags carry an address, such as a second studio.
Anything below target is tomorrow's pickup list. Sending the client that list on the same evening, before they find the gaps themselves, changes the tone of the relationship.
Timing data for the next quote
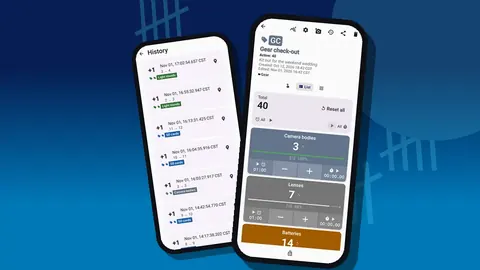
Every tap is timestamped in history, with the before and after values and the tag. The time between the first and last tap on a product is a good estimate of how long it took. After a few batches, you will know how long a shirt takes compared with a pair of shoes, or how much longer reflective products take than matte ones. That is better quoting data than any rule of thumb.
Variations
- Per-angle tags. If the client tracks angles separately, create tags such as "SKU 4471 – front" and "SKU 4471 – back". More tags, more precision, and a longer grid.
- Steps for bracketing. If every approved angle comes as a three-frame bracket, set the step to 3 and the target to three times the angle count.
- Batch rotation. Make a ZIP backup of the finished batch, then reset the counter and reuse its structure for the next drop of the same product line. Import as a copy if you want both batches side by side.
- Count down. Some teams prefer tags that start at the angle count and count towards zero, so the grid shows how many angles are left.
For less structured sessions, the general shot counter guide is a simpler starting point. If your product shoots rely on rented lighting or props, the rental equipment tracking article covers getting that kit in and out cleanly.
Bottom line
Labels plus a per-product target turn "I think we got everything" into a list that can be checked by anyone. Counter App handles the counting side offline on Android 12 and later, and is free to download with no ads; try it free for 3 days, then choose a yearly or monthly plan or a one-time lifetime purchase. Get the app at counterapp.online.
Frequently asked questions
Can a product photographer scan a SKU label to find the right tag?
Store the label's code on the product tag by scanning it with the camera or typing it. Matching the label on set then confirms you are logging the right item.
How do I track front, back, side and detail shots for one product?
Set the product tag's target to the number of angles, such as 4, and tap once per approved angle. Separate tags per angle are an option when the client tracks angles individually.
What if a finished product needs a reshoot?
Unlock or reset just that tag, add a note explaining why, and shoot again. The rest of the batch keeps its values.
How can I prove shot coverage to an e-commerce client?
Export the batch counter as an HTML report with embedded photos, or as Excel or CSV for merging with the client's product list. Any tag below target is the pickup list.
Which product labels scan reliably on a shoot day?
Counter App does not list supported code formats, and scanning depends on the label, surface and camera. Test a handful of labels at intake, and type the code when one refuses.
Who should log angles on a product photography set?
Often the stylist or assistant, using the lock-screen notification buttons. A photographer working alone can enable volume-key counting instead.