Counter App

Counting Donation Items at a Charity Drive
Key takeaways
To count donated items at a charity drive, design the sort first, then give each sorting station a phone with Counter App — Tally & Clicker and one tag per item type. Steps match the counting unit, QR bin labels jump to the right tag, photos document set-aside items, and exports feed thank-you letters and reports.
- A donation drive count should mirror the sorting tables: one station counter with one tag per item type that exists on the tables.
- A tag step from 1 to 100 lets a charity volunteer count a box of 12 tins with one tap while reporting tins.
- QR labels on donation bins can be stored on Counter App tags and scanned to jump to the right item type.
- Counter App — Tally & Clicker counts donated items but does not value them; in-kind valuation is done in a spreadsheet.
A donation drive is a short, loud burst of logistics. Cars pull up, bags pile on tables, volunteers sort as fast as they can, and at the end somebody asks the obvious question: how much did we collect? If the answer is "about forty bags", the thank-you letter, the partner report and next year's planning all suffer.
This guide sets out a counting system for a drive that uses one Android phone per sorting station and Counter App. It is built for volunteers who may have never seen the app before the morning of the event.
How should a donation drive count be planned?
Do not design the count first. Design the sort, then count what the sort produces. If your stations are "Coats", "Children's clothing", "Tinned food" and "Toiletries", those are your counting categories. Inventing finer categories on the counting phone that do not exist on the tables only creates confusion.
Decide the counting unit for each station too:
- Items for coats, blankets or shoes.
- Bags or boxes for mixed clothing, where counting single items is unrealistic.
- Weight bands if you have a scale, such as one tap per 5 lb box.
Write each unit on a card at the station. Volunteers will follow a card; they will not remember a briefing.
Setting up the counters
Create one counter per sorting station, or one counter for the whole drive if a single person records everything. A station counter is better when more than two people are counting at once, because each phone can stay with its table.
Give the counters a clear name with the date ("Coat drive Nov — Station 1"), a color, and short initials for the code badge. Put them in a category for the drive, nested under your general Coat drive or Donations category. Categories go up to three levels, so "Coat drive > 2026 > Station 1" is possible if you run the drive every year.
Create the counters the evening before. On the day, nobody has time to type.
Item tags with colors and steps
Inside each station counter, add one tag per item type. Each tag has its own color, value, step and target.
Use the step to match the unit. If donations arrive in boxes of 12 tins and you count boxes, but report tins, set the step to 12 on that tag. Steps go from 1 to 100. Keep a separate tag at step 1 for loose tins, so nobody has to fudge.
Targets help when a partner has asked for a specific quantity. If a shelter has requested 150 children's coats — an illustrative number — put 150 on that tag. The progress bar shows how close you are, and an optional sound or vibration alert marks the moment you reach it. You can also make a tag count down from a target, which some volunteers find more motivating: "38 to go".
QR labels on the bins
A tag can store one barcode or QR code for its bin. Print a QR label for each bin or table, store the same code on the matching tag, and volunteers can scan the label with the camera to jump to the right tag. If a label gets wet or torn, the code can be typed in manually.
This is most useful at large drives where several similar categories sit side by side, such as adult coats and youth coats, or when tables are reshuffled during the day. The label travels with the bin, so the count does too.
Keep label codes simple and human-readable, such as "COAT-AD" or "TOIL", so a volunteer can type one quickly if the camera struggles in poor light.
At the station
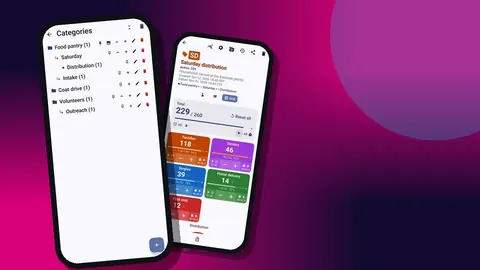
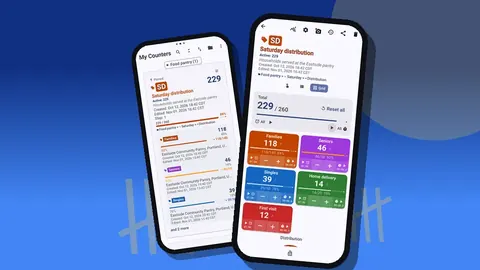
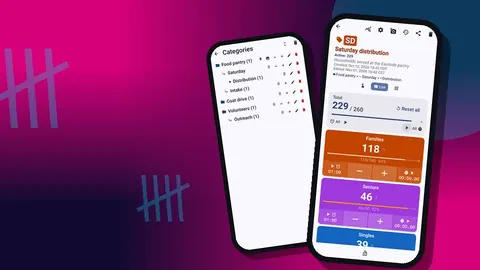
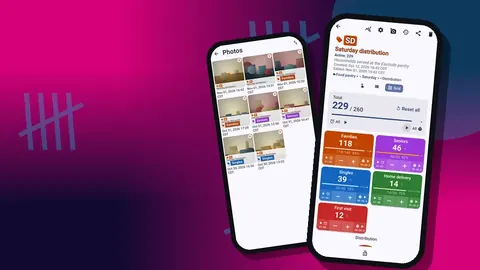
The counting screen offers three tag views. Grid view is the one to choose at a sorting table: every item type becomes a large colored tile with its own −/+ buttons, value and target percentage.
A station routine:
- The sorter places an item in the bin and taps the matching tile.
- If they tap the wrong tile, they press − on it and tap the right one.
- Every 30 minutes, the station lead glances at the totals to sanity-check them.
- At the end of the shift, the lead locks the counter so no stray taps get added.
Count sounds and vibration (13 sounds, 8 vibration styles) confirm each tap without the sorter looking at the screen. For volunteers whose hands are always full, volume-button counting can be enabled in settings; the volume keys then count in the background and on the lock screen. Some devices still show the system volume bar when you press the keys.
Photos as documentation
Up to six photos fit on one tag, enough to show the donations clearly. Use them for things that are hard to describe in numbers:
- The full table at the end of the day, for a newsletter or social post.
- Damaged or unsuitable items that were set aside, with a brief annotation.
- A pallet ready for pickup by a partner, as proof of handover.
The photo editor includes brush, text, six colors, four fonts and rotation, so you can circle a stain or write "not usable — mould" directly on the image.
Reviewing the photo record
After the drive, the all-photos gallery shows every picture across counters, each with its tag label and date. It is a quick way to choose images for a thank-you message or to check that set-aside items were photographed before disposal.
If you run the same drive every year, these photos become a visual record of how the event grew. Pair them with the exported totals and you have the start of a simple year-on-year story.
How do you combine counts from several drop-off points?
When donations come in at several locations — a church hall, a school, a supermarket foyer — each site has its own phone and counters. There is no live sync between phones, so combine the results afterwards in one of two ways:
- Export and add. Each site exports to CSV or Excel, and a coordinator adds the totals in a spreadsheet. This is simple and leaves each site's file intact.
- Backup and import. Each site makes a backup ZIP of its counters. The coordinator imports them onto one phone. The import shows a preview first, and counters that already exist can be replaced, copied or skipped.
Agree on identical tag names across sites beforehand. "Kids coats" and "Children's coats" will not line up neatly in a spreadsheet.
Which export suits donor thank-yous and in-kind receipts?
Exports come as CSV, Excel (XLSX), or an HTML report with embedded photos. Tick the sections the reader needs: Summary, Events, Notes or Locations.
- For a donor or partner thank-you, the HTML report with Summary and a few photos reads well without any spreadsheet skills.
- For internal records, Excel with Summary and Events gives totals plus a timestamped row for each count.
- For in-kind receipts, export the totals per item type, then apply your organization's own valuation rules in a spreadsheet. The app counts; it does not value donations.
Learning from the numbers
Because each count is timestamped, the Events export shows when donations arrived. If most bags came in the first two hours, next year you might staff the morning more heavily and close earlier. If one category barely moved, consider dropping it from the appeal or making a more specific ask.
The dashboard on the phone gives the same insight at a glance, with a seven-day activity bar chart and a pie chart by tag. For a one-day drive, the pie chart is the more useful of the two: it shows the mix of what people gave.
Connecting to distribution
Donations are only half the story. If the same items will be distributed later, keep a separate distribution counter with matching tag names. Comparing collected versus distributed per item type tells you what is still in storage and what you over- or under-collected.
A volunteer briefing in five minutes
On the morning of the drive, gather station volunteers for five minutes, not twenty. Show them the grid on their station phone, tap a tile together, and show how the minus button undoes a mistake. Point out the unit card on the table and the QR label on each bin. Tell them to lock the counter if they step away, and that the station lead will check totals every half hour. That is genuinely all they need; everything else is the coordinator's job afterwards.
Related reading
- Food bank intake and distribution counts
- Counting fundraiser tickets at the door
- Event attendance for nonprofits
Keep it volunteer-proof
The best drive count is the one that still works when the experienced volunteer goes home at noon. Create counters the night before, print the unit cards and QR labels, choose grid view, and lock each counter at the end of the shift. Then export once, back up once, and write the thank-you letter with real numbers. Any station phone on Android 12+ can run Counter App — Tally & Clicker from GiveMeMood. Get the app at counterapp.online.
Frequently asked questions
How many photos can a donation drive attach to each item type?
Each item-type tag holds up to 6 photos, which can be marked up with brush strokes, text in six colors and rotation.
Can two sorting stations combine their donation counts?
Yes, after the drive. Add the stations' CSV or Excel exports together in a spreadsheet, or import each station's backup ZIP onto the coordinator's phone.
Can donation bins carry QR labels linked to counters?
Yes. A tag can store a barcode or QR code, which you can scan with the camera or type in manually.
Can a sorting volunteer count donations with the phone in a pocket?
Yes, after enabling volume-button counting in settings. The volume keys then count even with the screen locked.
Will volunteers see ads while counting donations?
Not necessarily. Donation counting happens ad-free, because Counter App — Tally & Clicker is free to download with no ads; try it free for 3 days, then choose a yearly or monthly plan or a one-time lifetime purchase.
What counting unit should a donation drive use for mixed clothing?
Bags or boxes are usually more realistic than single items for mixed clothing. Write the unit on a card at each station so every volunteer counts the same way.