Counter App

Pre-Pour Concrete Checklist on Your Phone
Key takeaways
To run a pre-pour checklist on Android, create one Counter App — Tally & Clicker counter per pour, add a tag for each check with a target of 1 or the expected count of bars and embeds, walk the forms tapping as items are confirmed, photograph problems, then lock the counter and export the record.
- A pre-pour checklist in Counter App — Tally & Clicker is one counter per pour with one tag per checklist item.
- Confirmation items on a pre-pour checklist use a tag target of 1, while countable items such as anchor bolts use the expected quantity from the drawings.
- Auto-lock on reaching a target keeps a completed pre-pour item from being changed by a stray tap.
- A pre-pour record exported from Counter App with Events and Notes shows when each item was checked and why corrections were made.
- Counter App organizes a crew's own pre-pour checks and does not replace project specifications, the engineer or any required inspection.
A concrete pour is one of the few moments on site that can't be undone with a pry bar. Once the truck starts discharging, anything missing from the forms is either cast in wrong or cut out later at real cost. That is why most crews run a pre-pour check, and why the check is worth recording properly instead of trusting memory and a thumbs-up across the slab.
This article shows how to run that check on an Android phone with Counter App: rebar and embed counts against expected quantities, yes-or-no items for forms and cover, photos of anything questionable, and an exported record of what was checked and when. It is a tool for organizing your own checks. It does not replace your specifications, your engineer or any inspection required on the project.
What does a pre-pour check usually cover?
Every project has its own list, set by the drawings, specs and the people responsible for them. The categories below are common, and you should adapt them to your job:
- Formwork: dimensions, line and level, bracing, ties, form release, clean-out of debris.
- Reinforcement: bar size, count, spacing, laps, chairs and spacers for cover, tying.
- Embeds and sleeves: anchor bolts, hold-downs, plates, conduit, plumbing sleeves, blockouts.
- Subgrade and vapour barrier: compaction as specified, membrane laps and taping.
- Logistics: pump or chute access, washout location, finishing tools on site, weather plan.
Some items are counts ("anchor bolts: 24 expected"). Others are simple confirmations ("form release applied"). Counter App handles both with the same mechanism: a tag with a target.
Building the checklist in Counter App
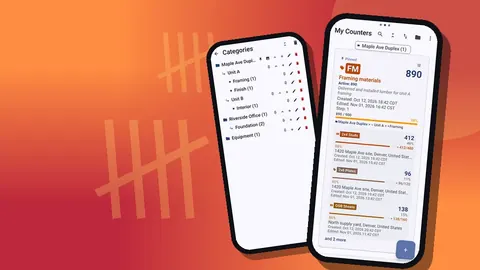
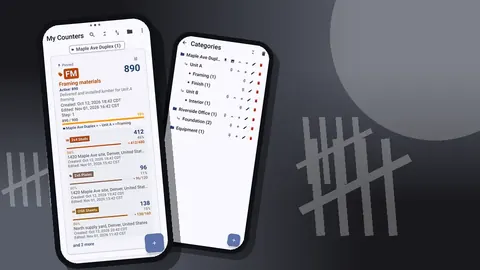
Create one counter per pour, named so it is easy to find later: "Slab on grade, Unit B, 22 Oct". Put it in a category for the job and phase. Then add one tag per checklist item.
For confirmation items, set the tag's target to 1. Tapping plus once marks it done. For countable items, set the target to the expected quantity from the drawings, so the tag shows how many of the required embeds you have found.
The counter's target settings offer more:
- Count up or down. Counting up from zero toward the expected quantity is the natural choice for a checklist.
- Sound and vibration alert when a target is reached. A buzz when the last anchor bolt is counted tells you that line is complete without looking.
- Auto-lock on reaching the target, so a completed item can't be bumped by a stray tap.
- Auto-reset exists too, but leave it off here; you want the completed state to stay.
Use colors to group items: one color for forms, one for steel, one for embeds. In Grid view the colors make the categories obvious.
How do you count rebar and embeds before a pour?
Countable items deserve a deliberate method. A few suggestions:
- Count in a fixed direction. Start at one corner and work along gridlines, tapping as you pass each bolt or sleeve.
- Use the step where it makes sense. For a run of identical stirrups in groups, a step equal to the group size can speed things up. Steps go from 1 to 100.
- Correct with minus. If you double-tapped, subtract and keep going. The history keeps both events.
- Note the misses. If you find 23 of 24 anchor bolts, add a note on that event with where the missing one should be.
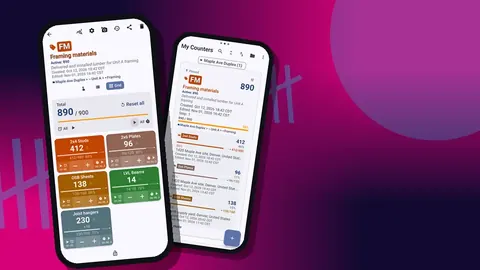
Grid view gives each item a colored tile with its value, target percentage and plus and minus buttons. Each tag also has a timer and stopwatch if you want to time a task, such as a curing check, but most pre-pour checks don't need them.
Walking the pour
Do the walk with the forms clear of people and plenty of time before the truck is due. Late checks are rushed checks.
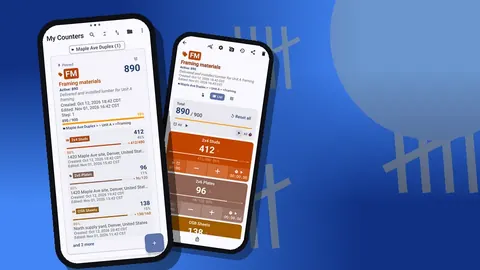
- Open the counter and switch to List view. Each item appears as a row with its buttons and progress, and the total for the whole checklist sits at the top.
- Walk the perimeter first for formwork items, then the interior for steel and embeds.
- Tap plus as each item is confirmed or counted.
- For any problem, take a photo, add a note and leave the item short of its target until it is fixed.
- When the fix is done, complete the tag and add a note saying what changed.
If gloves make the screen hard to use, volume-button counting lets the hardware keys count, including on the lock screen. It is off by default.
Photos and markups
Photos are the part of a pre-pour record people actually look at later. Each tag holds up to six. Useful shots include a general view of each bay of steel, close-ups of laps and chairs where cover matters, and every embed that is near a tolerance.
The photo editor lets you rotate a picture and add brush marks and text in six colors, with four fonts and bold, italic, underline and strikethrough styles. Circle the low chair, write "add tie" next to it, save, and the photo carries its own explanation. The all-photos gallery shows every picture from the checklist in one grid, labelled with tag and date.
Reading the result
Before calling the pour ready, check two views:
- List or Grid view shows any tag below its target. Those are your open items.
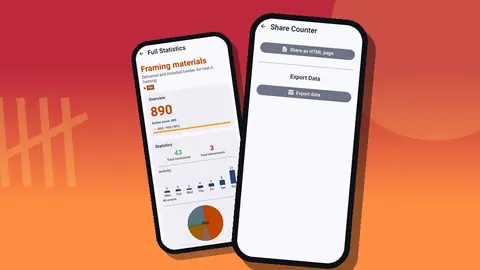
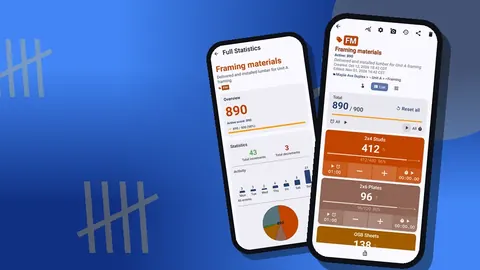
- The dashboard shows total against target for the whole checklist, increments against decrements, a seven-day activity chart and a pie chart by tag. If the total is short, something is still open.
When everything is complete, lock the counter.
Producing the record
A pre-pour record is useful for the superintendent, the client, and anyone asking questions after the concrete has cured. Counter App can share the counter as an HTML page with embedded photos, which is a readable record for non-technical people. It can also export CSV or Excel (XLSX) with the sections you choose: Summary, Events, Notes and Locations.
For a pour record, include Events, because their timestamps show when each item was checked, and Notes, because they explain the corrections. Store the export with the job documents. The checklist lives on the phone, with no account and no Counter App cloud, so the exported file doubles as a copy of the pour record.
What happens when a pre-pour check finds a problem?
The purpose of the walk is to find problems while they are cheap. Decide in advance how open items are handled, so nobody is improvising with a truck on the way.
A workable rule: any tag short of its target blocks the pour until it is either fixed or accepted by whoever has authority to accept it on your project. Record which one happened. If a bolt was added, complete the tag and note "added, re-checked". If a deviation was accepted, leave a note with who accepted it and why, and a photo.
Keep a time buffer. If the check routinely finds two or three items that take half an hour each to fix, schedule the walk early enough to absorb that. The history timestamps from past pours show how long fixes actually took on your jobs, which is a better guide than optimism.
Finally, tell the crew what was found. A recurring miss, such as chairs missing at slab edges, is a training point for the next pour.
Reusing the checklist
After a few pours you will have a list you trust. Two ways to reuse it:
- Keep finished counters as records and create a new counter for each pour with the same tag list. This keeps each pour's history separate.
- Reset a counter to start again from zero if you don't need the old record on the phone. Export it first.
A ZIP backup can carry the template counter to another phone, for example to a foreman on a different site. On the foreman's phone, the import preview asks whether matching counters should be replaced, copied or skipped.
Timing the steps around the pour
The checklist is not only about what is in the forms. Several items depend on time: when the truck is due, how long the pump needs to set up, and when the finishing crew must be ready. Each tag in Counter App has its own timer and stopwatch, with presets from 30 seconds to 10 minutes, and an alarm sound and vibration when a timer ends.
Most of the pre-pour timings are longer than those presets, so the stopwatch is usually the more useful tool here. Start it on a tag such as "Fix open items" when work begins, and you have a record of how long fixes took. Over several pours that history tells you how early to schedule the walk.
Tips from the field
- Start the check the day before where the schedule allows. Overnight is when missing hardware gets ordered.
- Have a second person verify the countable items. Have them count on their own phone, in a separate counter, and compare the totals afterwards.
- Photograph the vapour barrier laps before steel goes in; afterwards they are hard to see.
- Keep item names short so they fit on a tile.
- Don't tick an item to make the total look complete. An open tag with a note is more useful than a false tick.
Related reading
For counting the steel and other material before it is placed, see counting construction materials on Android. For turning field counts into numbers the office can price, read exporting material counts for estimates.
It runs on any Android 12 or later phone and is free to download with no ads; try it free for 3 days, then choose a yearly or monthly plan or a one-time lifetime purchase. Get the app at counterapp.online.
Frequently asked questions
Does a phone pre-pour checklist replace a required concrete inspection?
No. Counter App only organizes and records your own checks; follow the project specifications, the engineer's instructions and any required inspections.
How do you turn a Counter App counter into a pre-pour checklist?
Add one tag per checklist item with a target of 1, or a target equal to the expected quantity for countable items like embeds or sleeves, and watch progress in List view or the dashboard.
Can each pre-pour check carry photos of the steel?
Yes. Every tag holds up to six photos, and the built-in editor adds text and brush marks in six colors to point out a low chair or a missing tie.
How do I stop a pour checklist from changing after the concrete is placed?
Lock the counter against accidental taps; auto-lock on reaching the target can also freeze a single item as soon as it is complete.
Can a crew reuse its pre-pour checklist on the next slab?
Yes. Either reset the counter to zero after exporting it, or keep the finished counter as a record and create a new one with the same tag list.
Which export sections belong in a pre-pour record?
Include Events, whose timestamps show when each item was checked, and Notes, which explain any corrections or accepted deviations.
How should open items be handled before a concrete truck arrives?
A practical rule is that any tag short of its target blocks the pour until it is fixed or formally accepted, with a note saying which happened.